Quick guide
This tutorial will show the workflow I go through in taking a finished AutoCAD drawing and opening it up with Adobe Illustrator for the purpose of further editing it for use in a floor plan, section, or diagram.
Software Required: AutoCAD, Adobe Illustrator
Time Required: 10 Minutes
Difficulty: Easy
1. Save AutoCAD File
Clean up your AutoCAD file so it only has the geometry to be opened in Illustrator. Save the file as a 2010 version, as Illustrator cannot open later versions.
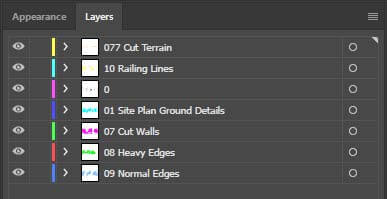
The layers in Illustrator should match that of the AutoCAD file.
2. Open the AutoCAD file with Adobe Illustrator
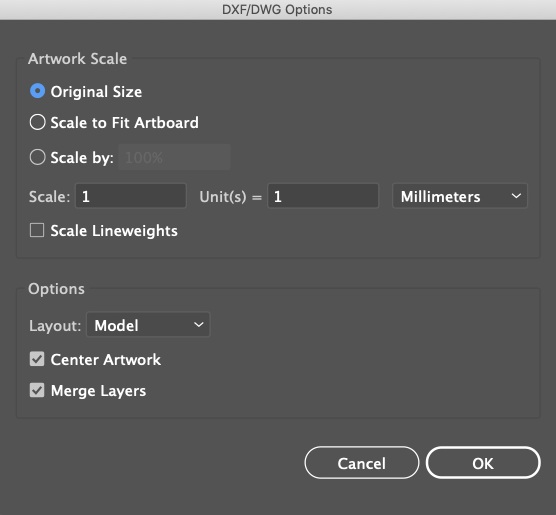
Open up the xxxx version file with Illustrator and the DXF/DWG option box will appear. This is where the scale is determined. I want the drawing to be at 1 = 1
3. Adjust Line Styles
Now that all of the lines are in separate layers, the lines in each layer can easily be adjusted all at once. Color, thickness and linetype are the main properties that can be changed. To edit the lines, click on the open circle to the right of the layer name. This selects all of the content in that layer. Then open up the stroke, color, and any other panels to adjust their appearance.
All lines that you need to cut must be 0.03mm or less in size.
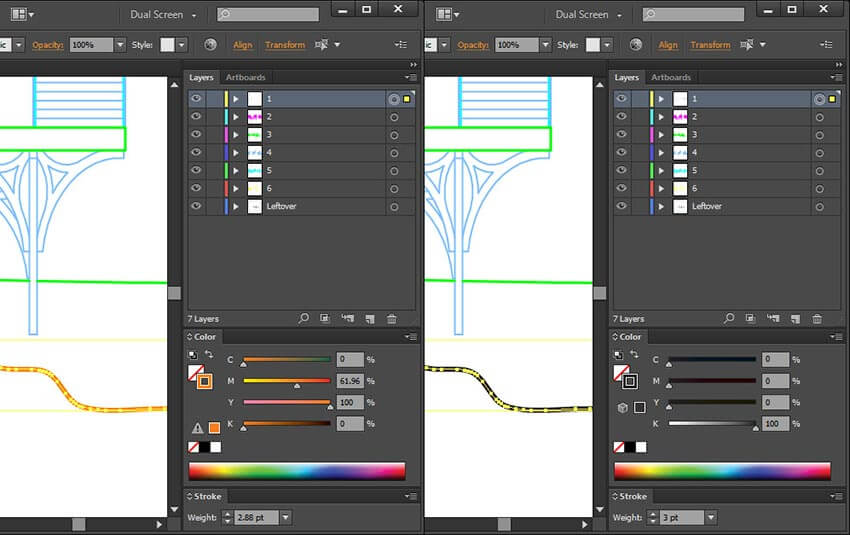
Left: Original lines at 2.88 points in thickness and orange. Right: Changed to 3 points thickness and black.
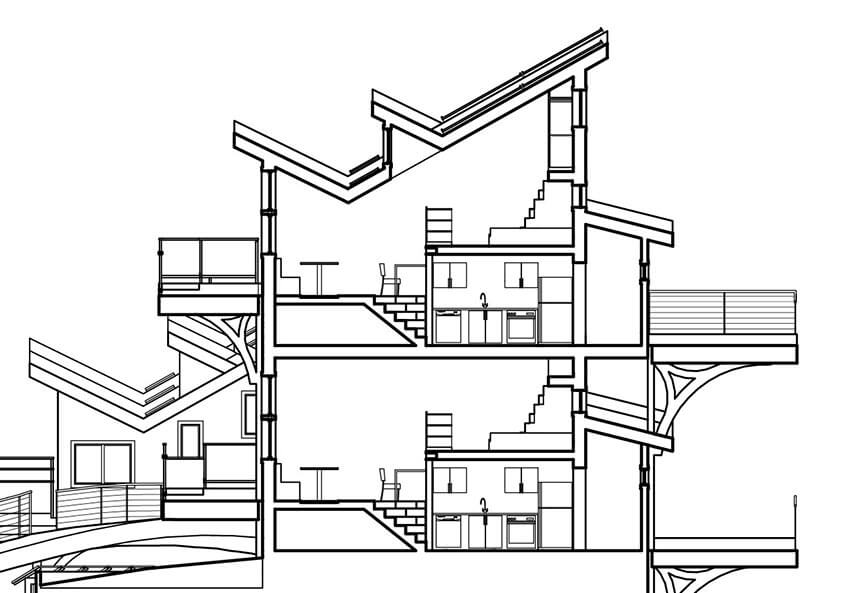
Now that you know how to edit the appearance of the lines, you can edit them however you want. Below is a basic black and white line drawing of a section of my model. More can be done to improve drawing, such as using the live paint tool. A tutorial about using live paint can be found here.