You will need to download a program called Cura in order to convert your STL file into a bot readable file. This is available here: http://software.ultimaker.com/ Once you open the program it will ask you which bot you are using in order to give you a digital visualization of your particular build platform.
Step 2: Import your STL
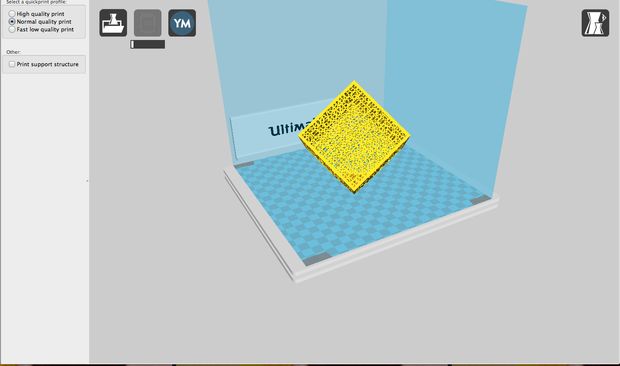
Click LOAD in the top left hand corner and choose the STL you would like to print.
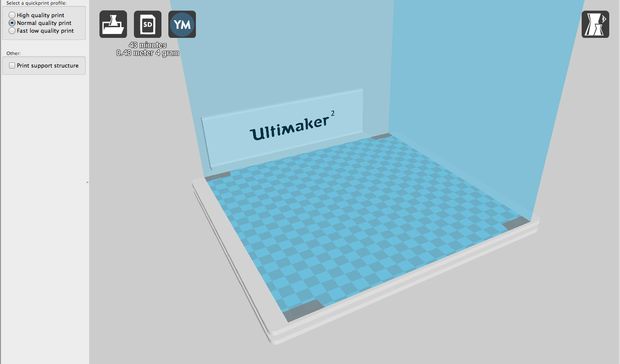
Step 3: Customize your settings
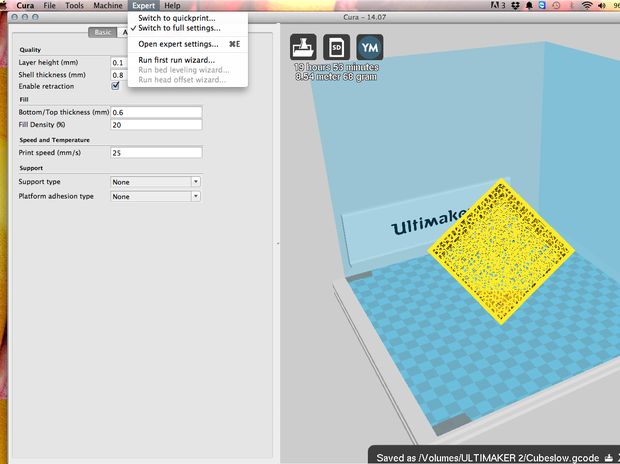
In order for your model to print correctly you will need to customize the settings. Resolution- Do you want it to be faster or prettier or a happy medium? This depends on what you will be using your printed object for. SUPPORT STRUCTURE- This is the important one. RAFTS- Like a life raft for your print, this layer of plastic is printed first and sits under your print and keeps it from peeling off the build plate during printing. If can be removed when the print is complete. The raft is useful if your print is long and flat because some warping may occur during printing due to temperature fluctuations. SUPPORTS – Supports are what they sound like. They are there to keep your print from becoming a mushy pile. Remember there is no anti gravity device in your bot yet. (disregard if this is the year 3014 and no longer the case) Everywhere printing will occur where there is nothing underneath to hold it up will need to be supported. By checking the support box the program will generate a removable scaffolding for building your print. ADVANCED SETTINGS If you are printing something complicated you should turn down the print speed. Using the EXPERT dropbox choose FULL SETTINGS and the dialog box on the left hand side will change. Now you have full control over all of the settings. Find the PRINT SPEED MM/S option and adjust the speed. I believe the default is 50 mm/s for more complicated objects I suggest 25mm/s but you have to experiment for what works for your print.
Step 4: Export your file
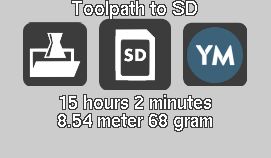
Export the file to the SD card by clicking the SD card in the top left corner.It will give you an estimation of the print time and material usage.
Step 5: Prepare the print bed
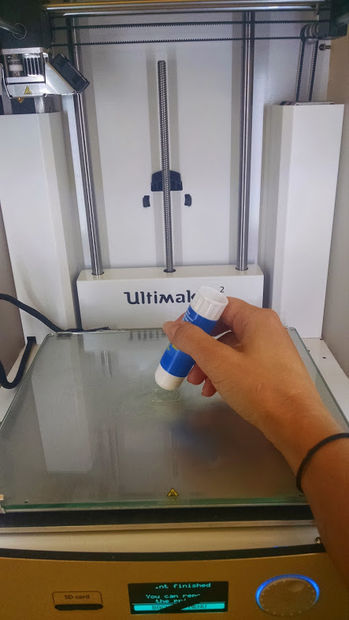
Put a thin layer of all purpose glue stick glue on the print bed. This will act as grease on a baking pan and allow the print to be easily removed when the print is finished as well as keep it in place during the printing process.
Step 6: Printing!
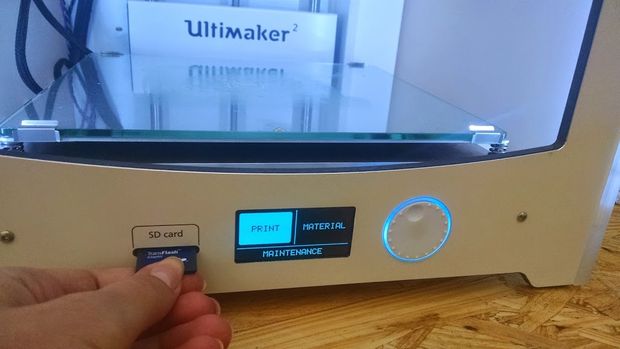
Insert the SD card. Use the toggle to select print and push in on the toggle button! Use the toggle to select your file. The printer will spring to life and align itself only to pause for preheat for a few minutes. You can monitor the heating progress in the bar on the screen.
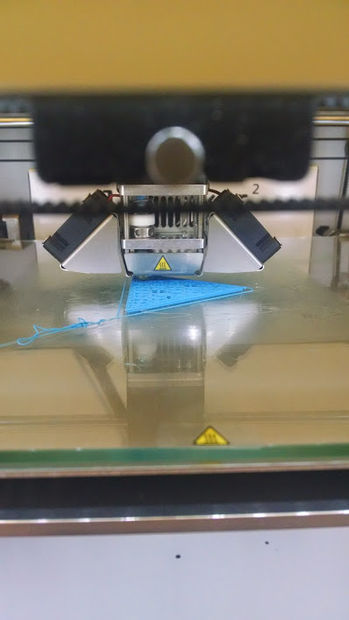
Step 7: Watch the first layers print!
Its important that you stay and watch the forst few layers print correctly.
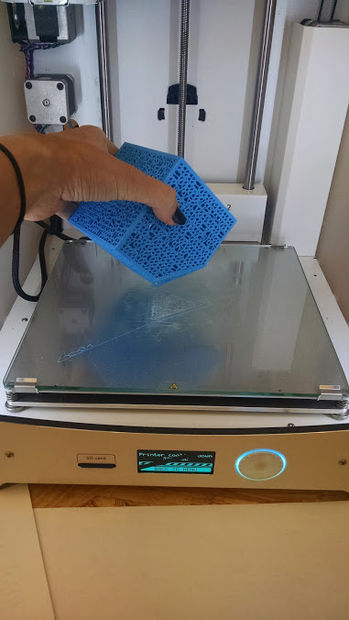
Step 8: Remove Your Piece
Gently pull your piece off the platform. Make sure the platform has cooled first otherwise you may get some warping on your print while pulling it off the platform. If it is difficult to pull off, use the scraping tool to gently tap on the bas of the print.
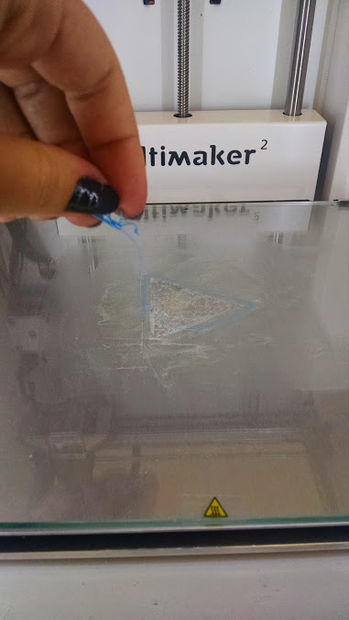
Step 9: Clean the Platform
Make sure you remove any plastic strings and extra glue so the next person has a clean platform.